
こんにちは。みみねこです。
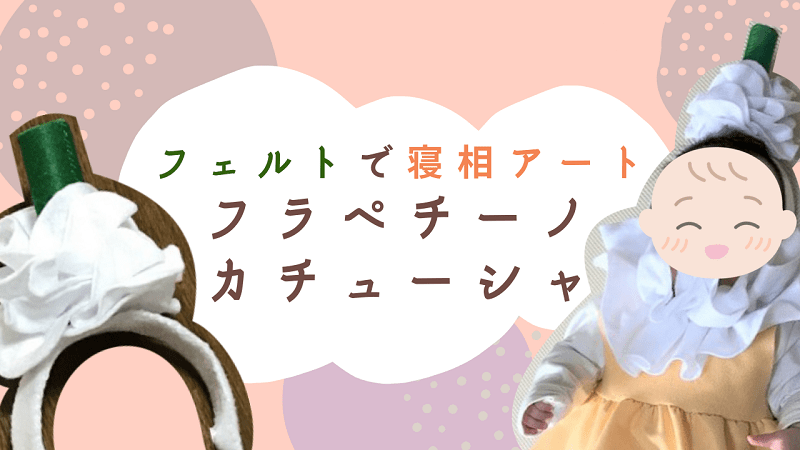
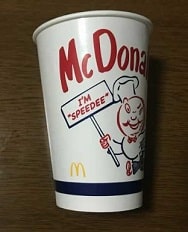
自分の子供にハロウィンの仮装をさせてみたいと考え、スターバックスのフラペチーノの仮装を手作りしてみました。よく見かけたのはコップ形状のものでしたが、私の子どもはまだ立てず着せるのは早いと断念…。
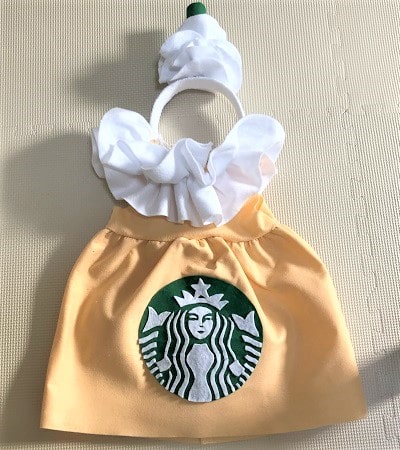
そこで今回はワンピースでフラペチーノ仮装を作ることにしました♪裁縫初心者ですが100均フェルト+材料を使い、700円前後で揃えられました!
型紙もありますので、良かったら作ってみてください♪

また、他の寝相アートで使用したものや他のフェルト作品の作り方はこちらから♪
おすすめの道具


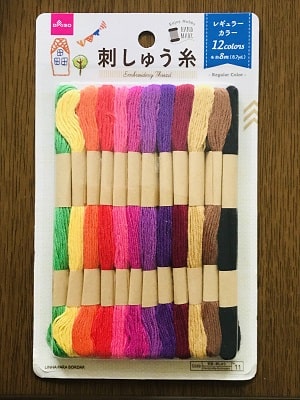
材料
基本的な手芸道具(針、はさみ等)は割愛します♪
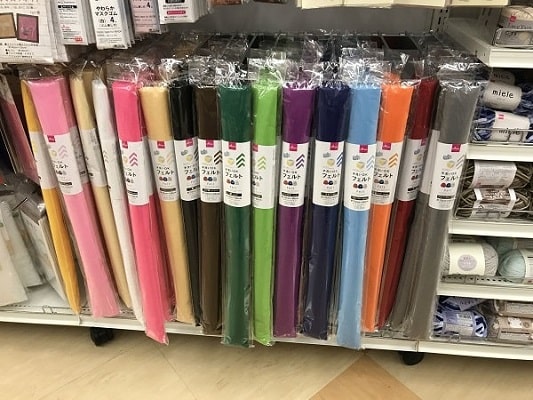
- フェルト
白:1枚(半分使用します。もう半分は衣装に使いました)
緑:1枚 - 糸 緑
- ストローとなる筒の型
今回はトイレットペーパーの芯 - カチューシャの形となる型
今回は大きめの紙コップ - グルーガン(布用ボンドでも可能)
ちょっとした特記事項
- フェルトはダイソー5枚入りフェルト(18 × 18cm)だと足りないので注意
- 接着は速乾性があるグルーガンの方がおすすめ
カチューシャがくっつきにくい形状のため - 紙コップはカチューシャ部分に使用
洗ってよく乾かしておきましょう♪
作り方
飾りとカチューシャに分けて作っていきます!
飾りを作る
ストローを作る
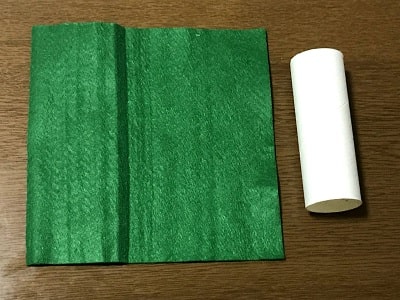
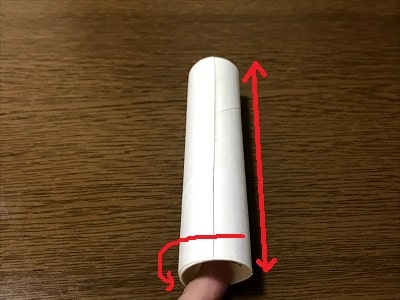
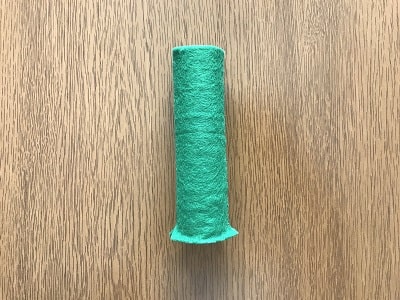
緑フェルトとトイレットペーパーの芯を使います。
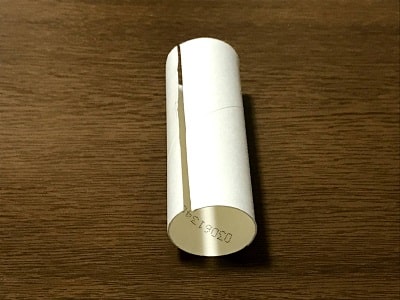
芯がこのままだと太いので切って少し丸めて細くした状態でくっつけます。
芯のサイズを計って緑フェルトを切ります。
縦:芯の長さ+3cm
横:芯の周りの長さ
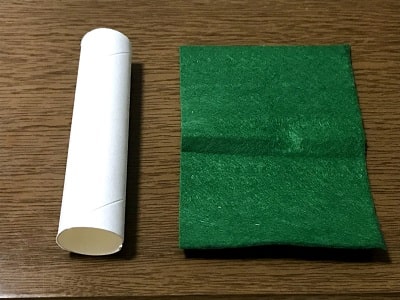
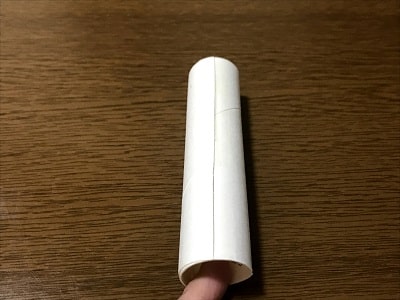
切ったフェルトを芯に巻き付け、かがり縫いをします。
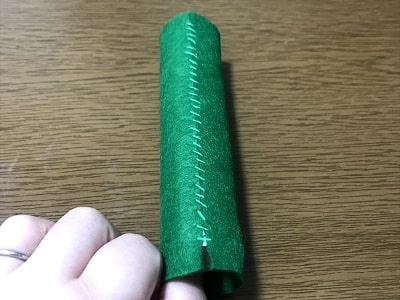
反対側に回して、上下ともに切れ目を入れます。
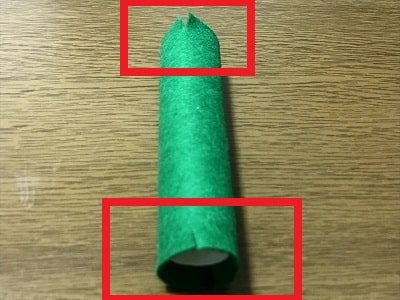
一方は内側に入れ、接着させます。

もう片方は逆に開かせておきます。
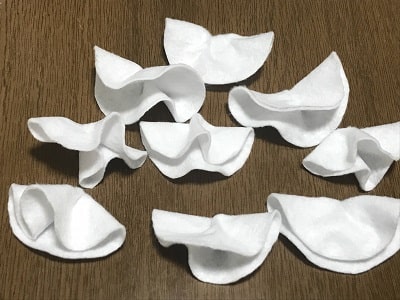
ホイップを作る
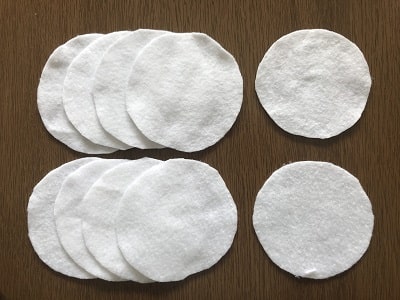
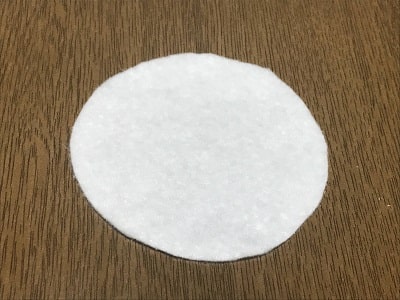
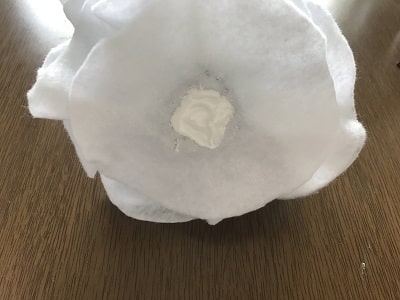
白フェルトを直径9cmの円で10枚切ります。
ホイップの形を作ります。白フェルトの上にグルーガンの糊(のり)を乗せ、ぎゅっと摘まみます。
写真は素手で行ってますが、結構熱かったです。
なぜか勢いで素手でやっちゃいました…。

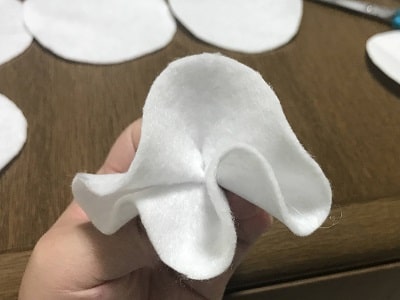
こんな感じで9個作りました。
1枚は土台にするので、残しておいてください。
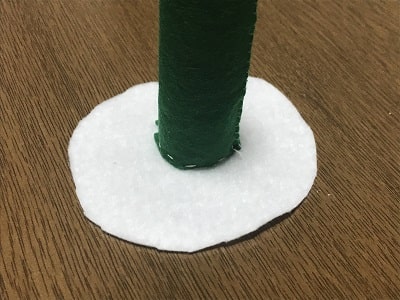
白フェルトを1枚置き、その上に先ほど作ったストローを乗せます。
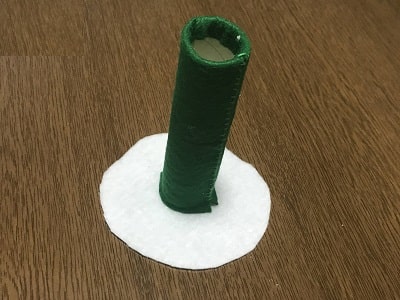
緑フェルトを開かせ、白フェルトに縫い付けます。
ストローの周りにホイップの飾りをボンドでつけていきます。
ちょっとずつ位置を調整しながらの方が見た目が綺麗になるので、ここは布用ボンドがおすすめです♪
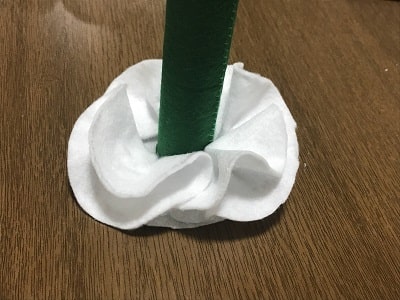
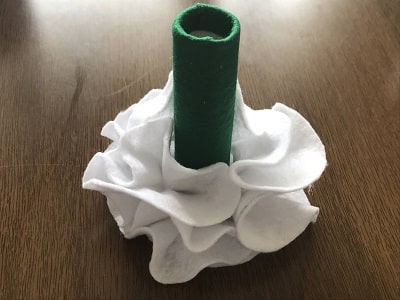
これで飾りが出来上がりました♪
カチューシャを作る
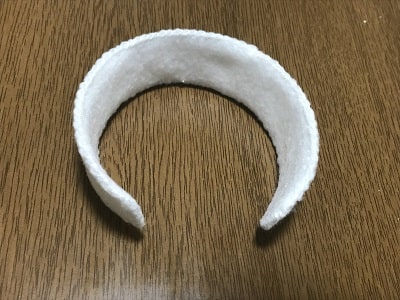
紙コップで型を作る
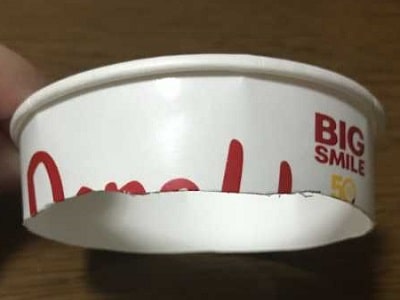
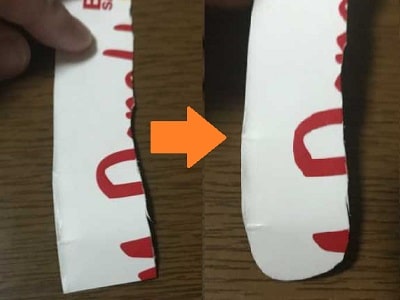
紙コップを用意します。
飲み口のクルッてなっている下から2cmのところに印をつけます。
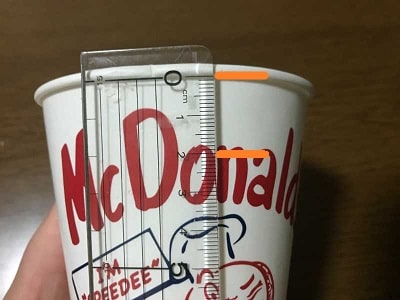
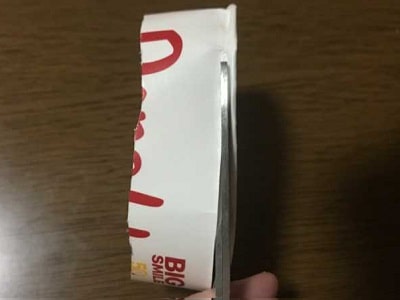
印に沿って紙コップを切ります。
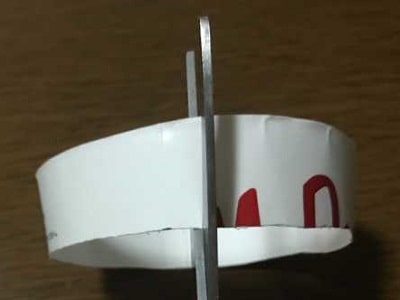
飲み口のクルってなっているところを切ります。
こんな感じで円になるので

半分に切ります。
切ったらこんな感じになります!
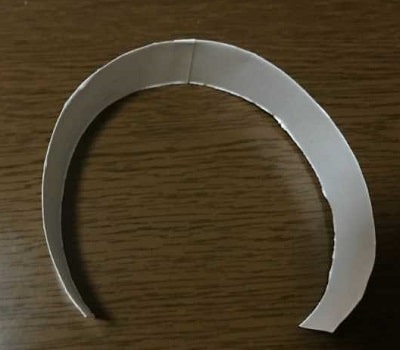
端を丸く切ります。
フェルトを切って型とくっつける
白フェルトを先ほど作った型の一回り大きいサイズで2枚切ります。
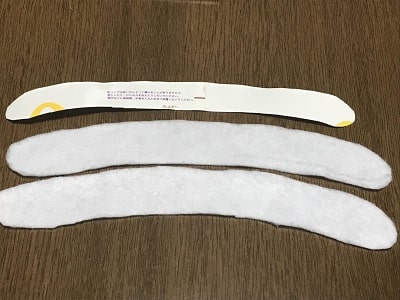
紙コップで作った型をフェルトでサンドしてくっつけます。
今回ボンドでくっつけましたが、グルーガンでも大丈夫です。
この後、フェルト同士を縫うのでボンドは端に付けないようにするのがポイントです♪
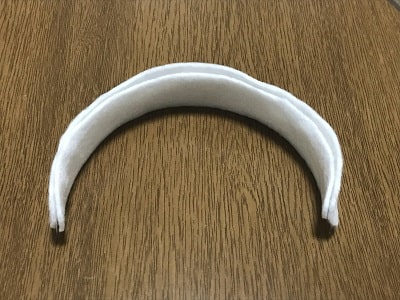
2枚のフェルトを縫い合わせます。
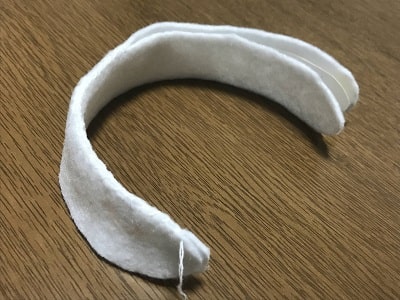
縫い合わせてボンドがしっかり乾いたら大丈夫です♪
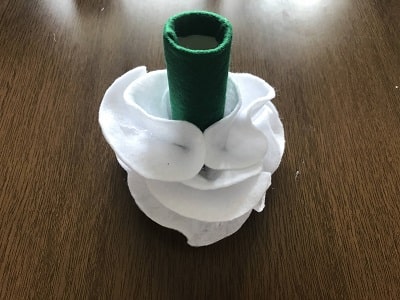
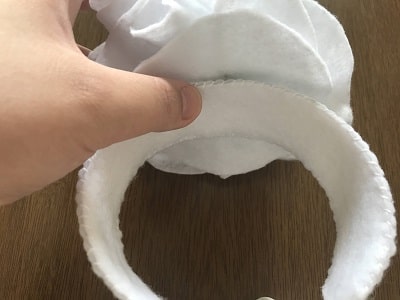
飾りとカチューシャを結合
まずは飾りとカチューシャを合わせて位置を確認します。
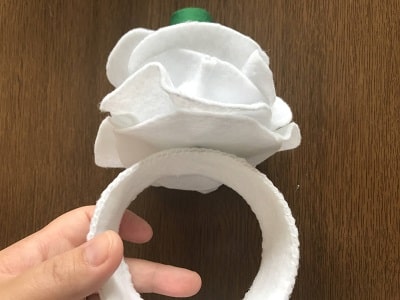
飾りの裏側中心にボンドを付けます。
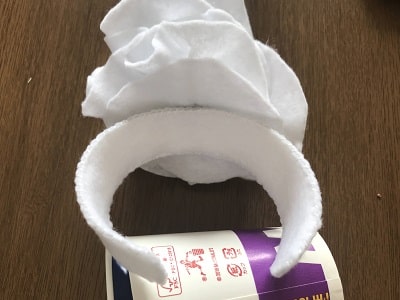
カチューシャの中心とくっつけます。
グルーガンだと一瞬ですが、ボンドだと乾くのに時間がかかります。
このようにコップなどを置いて乾かしてください。
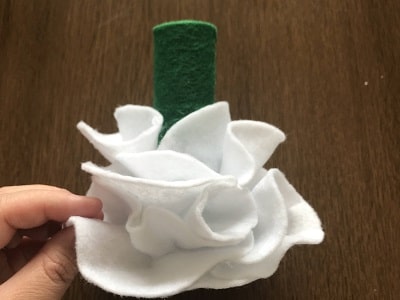
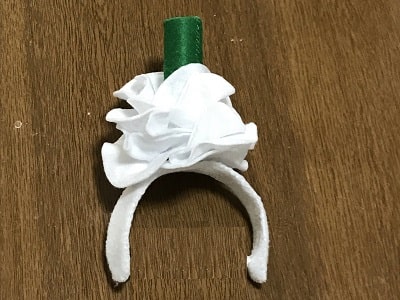
完成
これでヘアバンドの完成です♪
実際に子どもに着せた写真です♪
ホイップがフリルみたいでめちゃめちゃ可愛くできたので満足な仕上がりでした♪
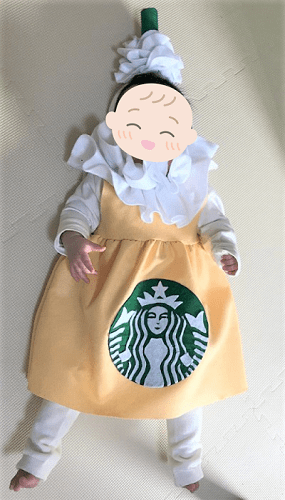
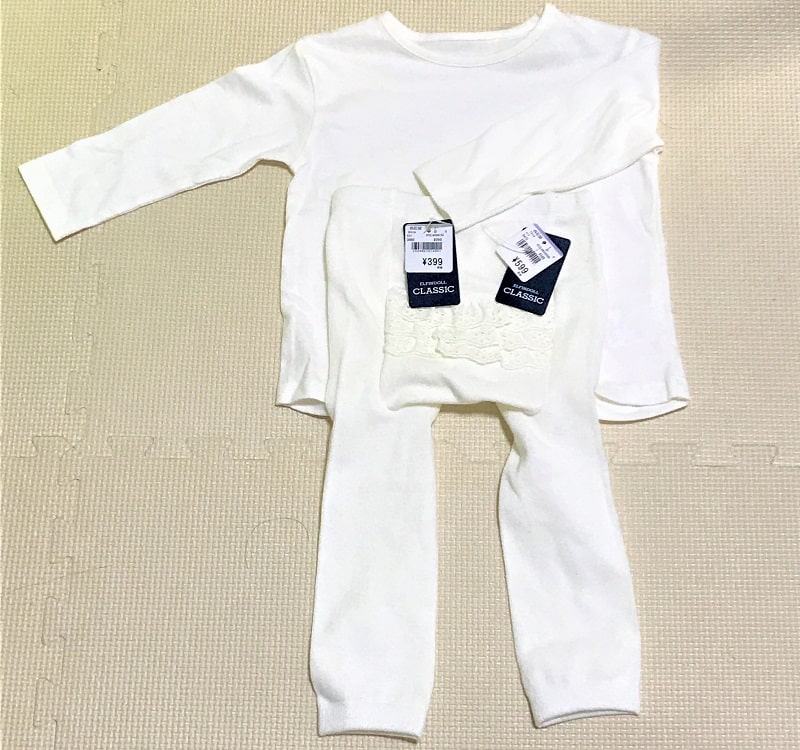
ワンピースの下は西松屋で白生地の上下それぞれを購入したものを着せました。
上が599円、下が399円で普段も使えるので、一着ずつ購入しました♪
ハロウィンにも間に合わせることができたのでとても満足です♪
まとめ
いかがでしたでしょうか。失敗しながらでしたが、満足するものが作ることができたのでご紹介させていただきました。
それでも衣装含め、型紙合わせて1週間くらいでできたので器用な方は1~2日で出来ると思います!
少しでも参考になればうれしいです!ここまで読んでいただきありがとうございました。