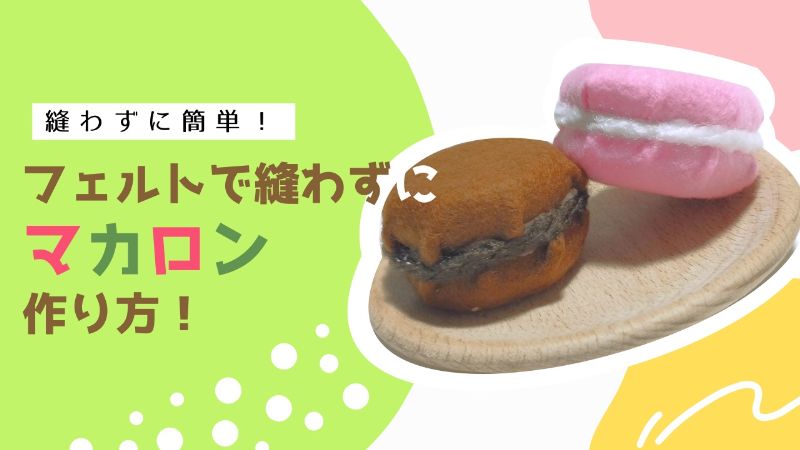
今回はフェルトで縫わずにマカロンを作りましたので、紹介します。
針と糸は使用しておりませんが、代わりにジョイントマット、布用両面テープや布用ボンドを使用しています。
裁縫に自信のない私でもできたので簡単だと思います!良かったら参考にしてみてくださいね♪
ケーキスタンドや乗せているお菓子・ケーキの作り方はこちらから↓


おすすめの道具


材料
基本的な手芸道具(はさみ等)は割愛します♪


- フェルト(今回使用したのは以下の色です)
ピンク、茶色 - ジョイントマット
- 布用の両面テープ・ボンド
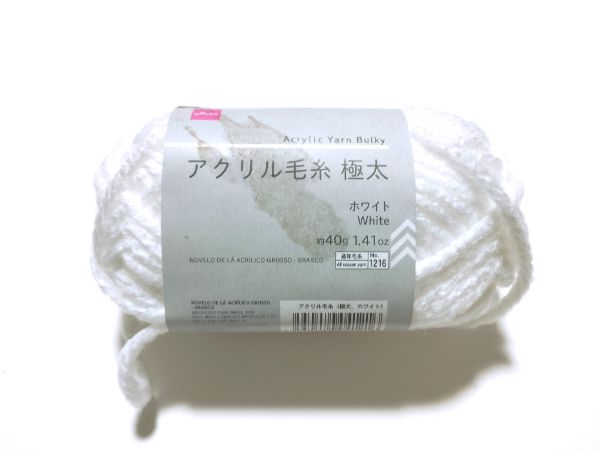
- 太めの毛糸(今回使用したのは以下の色です)
白、こげ茶
作り方
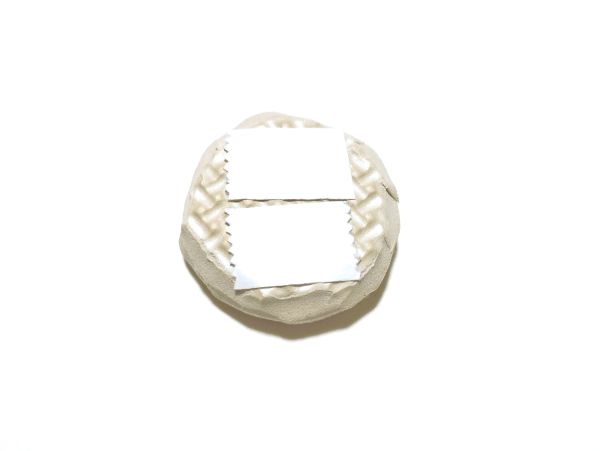
ジョイントマットを切る
ジョイントマットを円形に2つ切ります。
※ 写真は直径4cmで作っています。
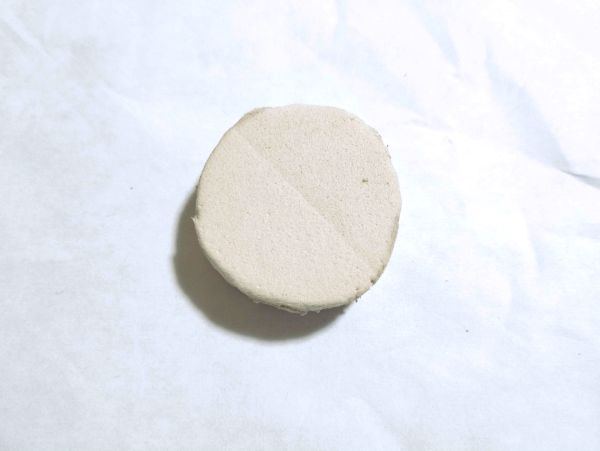
はさみで角を丸くするように切ります。
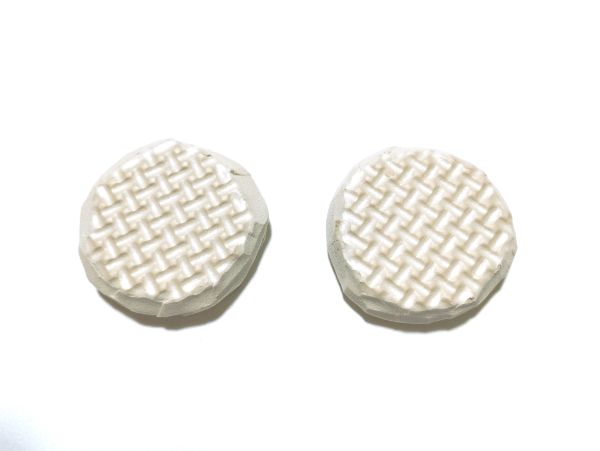
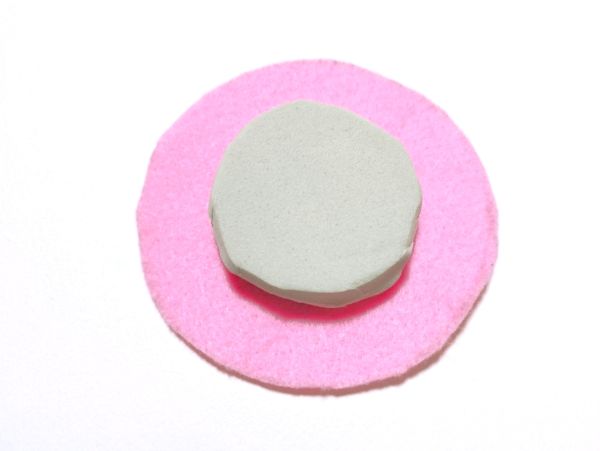
フェルトを切る
ジョイントマットよりふた回り大きく、フェルトを2枚切ります。
※ 写真は直径8cmで切りました。
参考程度に
ジョイントマットの直径+高さ × 2 +2cmの大きさで切りました。
※ 直径:4cm、高さ:1cm
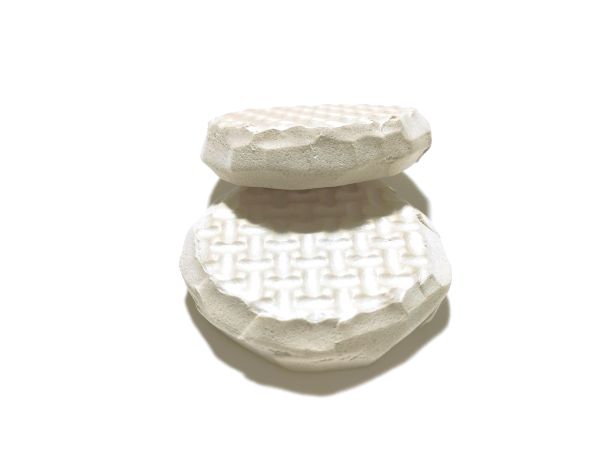
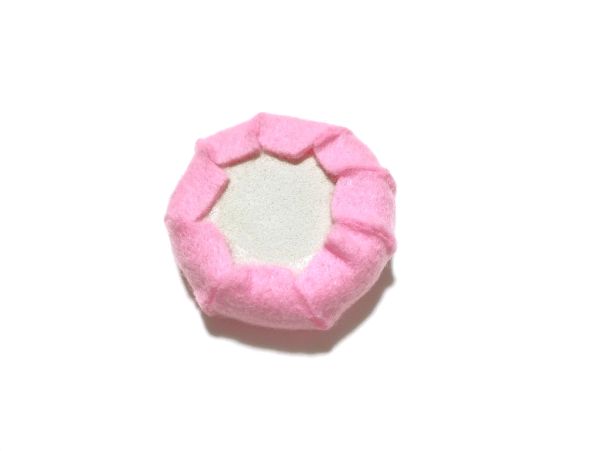
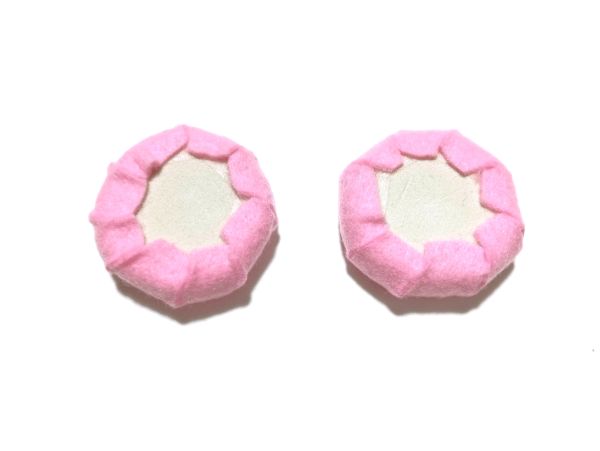
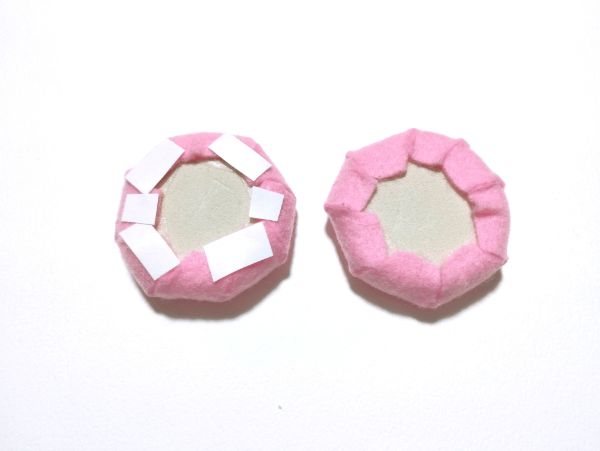
ジョイントマットにフェルトを貼る
ジョイントマットに布用両面テープを貼って、
フェルトの中央にくっつけます。
ジョイントマットの円の端に布用両面テープを貼り付けます。
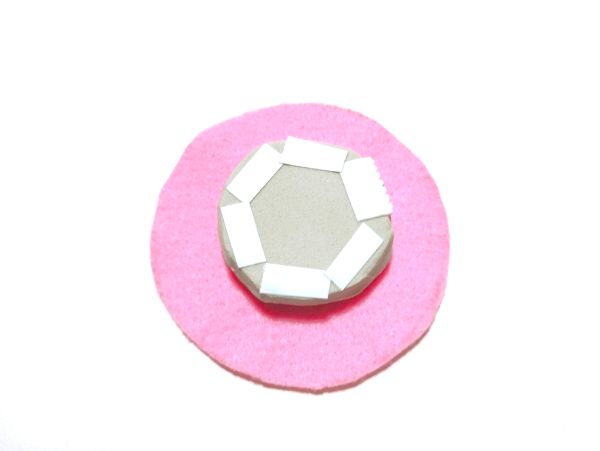
フェルトでジョイントマットを包み込むようにくっつけます。
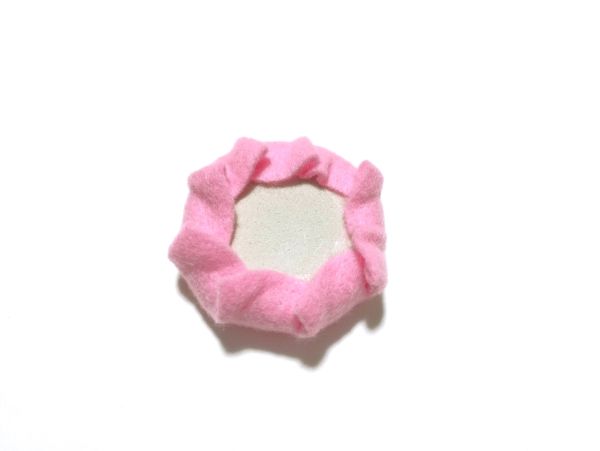
少しフェルトがぴらぴらしているので、はさみで切って整えます。
写真だとしっかり切っていますが、切り方が甘めの方が完成時にマカロンぽさが出ている気がしました。
※ 完成図の茶色のマカロンでは少し切り方を甘めにしました。
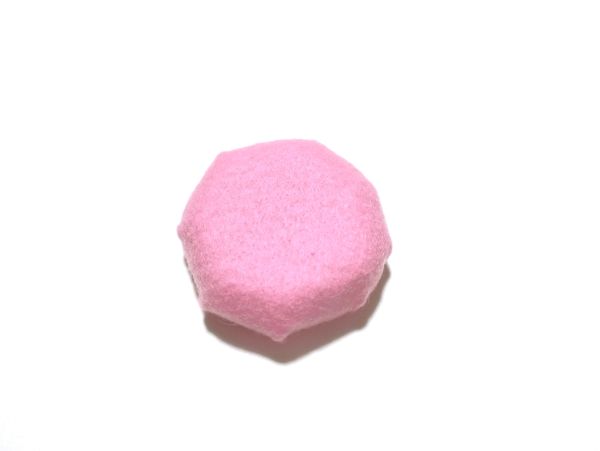
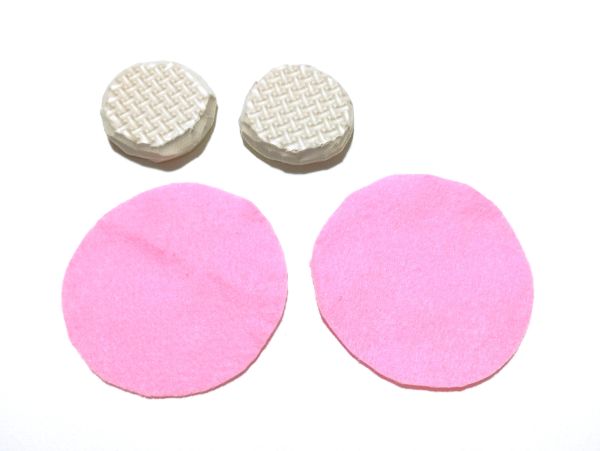
もう一つ同じものを作ります。
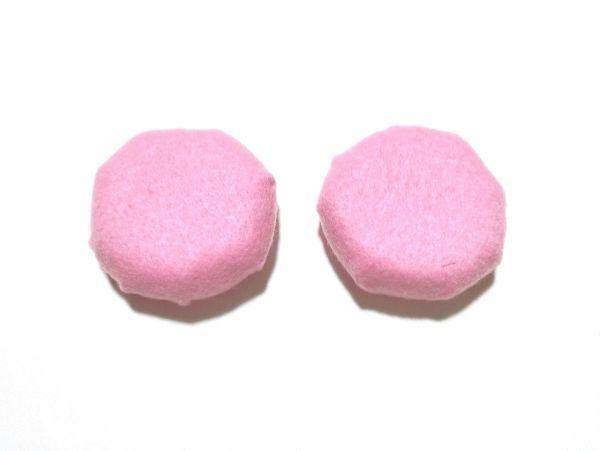
一方の円の端に両面テープを貼ります。
マカロンの形になるようにくっつけます。
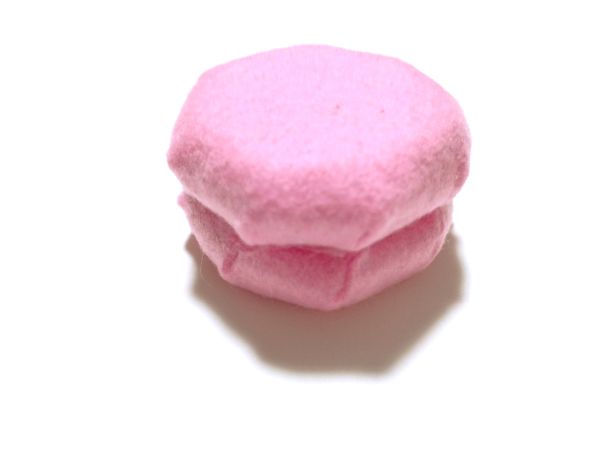

毛糸をくっつけます
先ほどくっつけたフェルト同士の隙間に、布用ボンドを塗ります。
ボンドにくっつくように毛糸を巻き付けます。
毛糸が一周したら切って端をボンドで固めます。
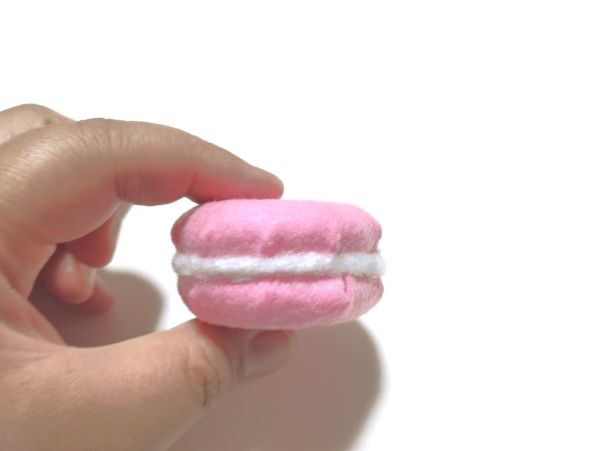
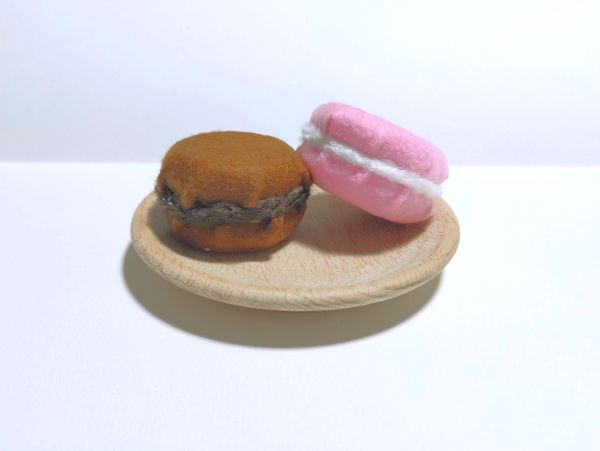
これでマカロンの形ができました。
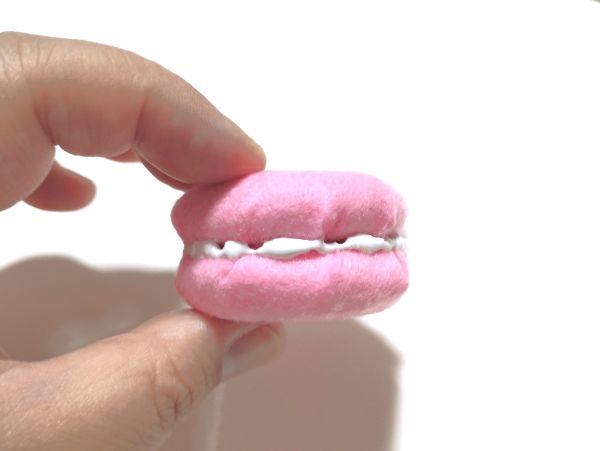
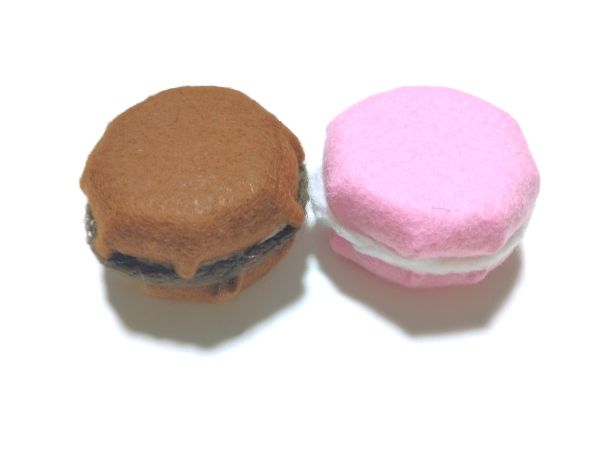
同様に茶色のフェルト、こげ茶の毛糸を使ってチョコマカロンも作ってみました。
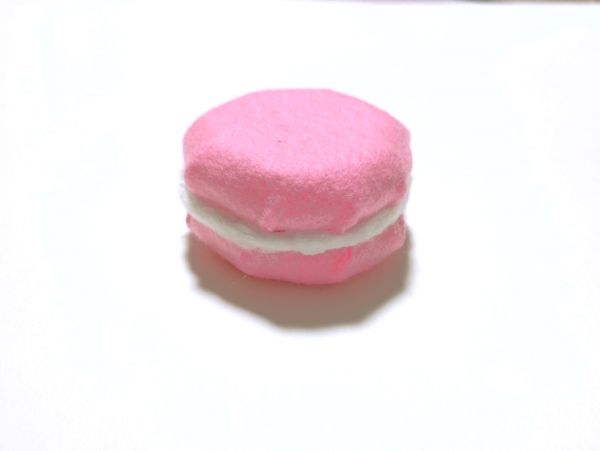
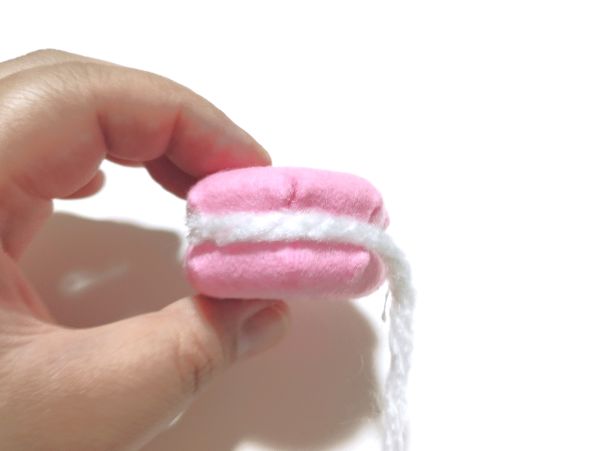
完成
これで完成です。
おままごとの木の食器に乗せるとこんな感じです♪
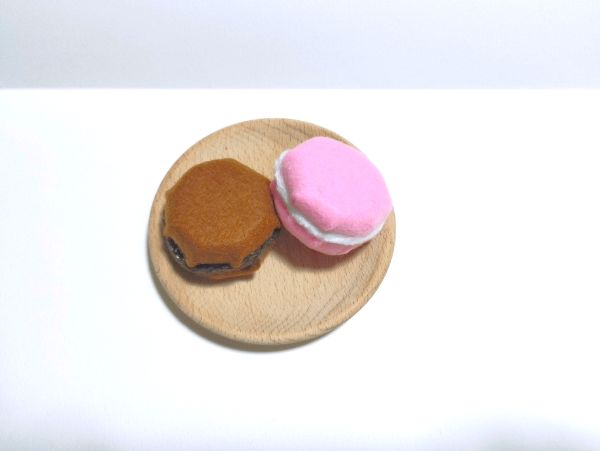
子どもと一緒にもぐもぐして、美味しいね♪と
おままごとを楽しみました!
良かったら作ってみてください♪